Easy Artisan Sourdough Bread
This is an easy artisan sourdough bread that is beginner friendly. If you’ve been curious about sourdough baking and having and maintaining a sourdough starter in your kitchen this is the recipe for you to try. I’ll show you a simple no fuss way to have fresh sourdough loaves in your kitchen in no time.
Jump to Recipe

It all Starts with a Strong Sourdough Starter
If you don’t know anything about sourdough hop over to my simple sourdough starter post to learn more about how to start and maintain your own sourdough starter. It isn’t hard to do, as a matter of fact it is super simple.
Your sourdough starter is what will make the loaf rise when baking. You feed it a mix of flour and water to keep it maintained and “fed”. Through a fermentation process and as the grains age the starter will mature and grow and feed on the good bacteria in the environment it lives in. It creates good bacteria for your gut health and is a more digestible and lower in glycemic index. This is how people back in the day would make bread, which really fascinates me. It takes a little longer and more involved but 100% worth it for the end result.

The Benefits of Eating Sourdough Bread
There are a lot of benefits to eating sourdough and the reason it has become some popular the last few years is its health benefits and how it differs from store-bought bread. Yes, store-bought bread is more convenient, however we aren’t looking for convenience we are looking at how it can better serve our health. Without your health you don’t have anything.
Some of the benefits of eating sourdough bread are:
- Good for your gut health – through the fermentation process it introduces good pre and pro-biotics to your gut
- Can help aid in digestion – most people have a sensitivity to gluten and while sourdough isn’t gluten free again, through the fermentation process it helps break down gluten making it easier for your body to breakdown and digest.
- Is lower on the glycemic index – we all know that the processed breads from the store are usually higher in sugar. Sourdough bread is made with three simple ingredients. Water, starter (mix of flour and water) and salt. It’s less likely to raise blood sugar. It can actually help regulate your blood sugar.
- Contains higher levels of vitamins, minerals and antioxidants.
- Better ingredients than artificial additives like that in store bought bread.
- The taste is amazing!

The Process of Easy Artisan Sourdough Bread
Like I mentioned above, it all starts with a strong, healthy, well-fed starter. If you don’t have one it’s easy to get one started or you can get some from a friend who has one. Start by feeding your sourdough starter several hours before putting your bread together. After you feed it, I like to have mine in a mason jar, mark the outside of the jar with a marker or a rubber band to watch the rise.
You want your starter to rise double of what it is when you fed it. By marking your jar this will give you a better idea of how much it has risen. Depending on how warm the environment is will depend on how long this rise will take for your starter. For my starter this usually happens about 4-6 hours after I feed it. Don’t be discouraged if yours takes a little longer. Some will double in 8-12 hours.
*Tip: To speed up the process place your covered jar with sourdough starter in a oven with JUST the oven light on. This will keep it slightly warm and allow the starter to rise more quickly. Just don’t forget your starter in there and accidentally pre heat the oven!
Once your starter is at its peak (the highest point of its rise before it starts to fall) you want to put your dough together then. This is when it is its strongest!
Putting the Dough Together
I have done this both ways and I’m here to tell you I get more consistent results using a kitchen scale and measuring out my ingredients. Everyone does this differently though, so you choose what is best for you. I will say it helped me as a beginner baker to use the scale. It can be frustrating when each time you bake something different happens you need to troubleshoot. The kitchen scale will give you more consistent results.
Keep in mind that no one starter is the same. This means your measurements could vary a little from what I have used. I have tested and tried many other recipes and through trial and error I have found what I know works for my starter.
You’ll add your starter to a large bowl with some warm water and then whisk together until you have a milky consistency. Then add in your flour and mix together. You can do this with your hands (messy way) or you can use a bread whisk like I do. Mix well until everything is incorporated or until you don’t see any more flour. After mixing all ingredients together you should be left with a shaggy looking dough.
Let it sit (covered) for 45 minutes.
The Process
Come back to your dough after the 45-minute mark and add in the salt. Squeeze in with wet hands then you’ll knead the dough in a round motion to get it in more of a smooth ball. Just turn the bowl round and round sliding your hand around the side of the dough until it looks smooth. This should only take you 20-30 seconds. Make sure the salt is mixed in really well.
*Tip: If your dough is sticky and it is all over your hands, wet your hands and then handle the dough. This will keep the dough from sticking to your hands.
When you’ve got the dough into a smooth ball cover it with a plate or a bowel cover and let it sit for an hour before we start our stretch and folds.
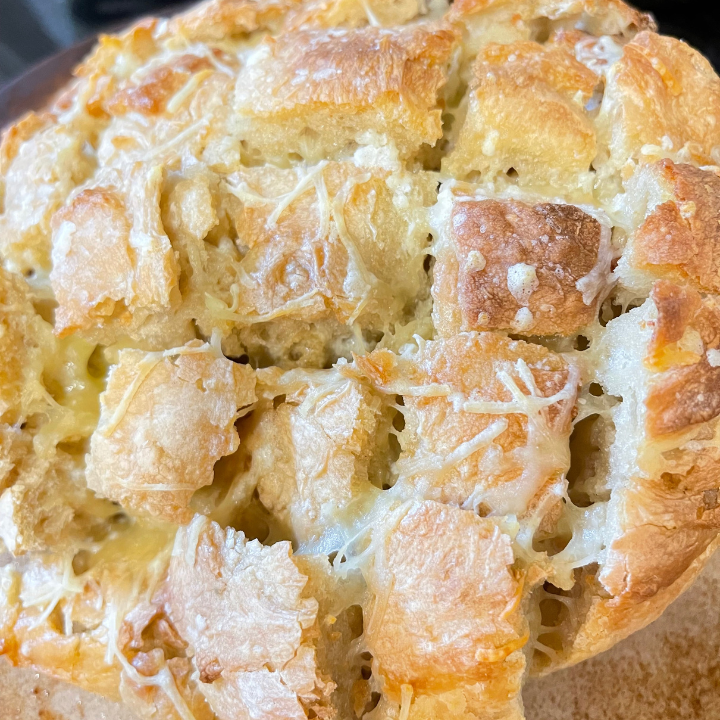
You can get the best bread bowl here 🙂
Stretch and Folds
The next part of the process is called stretching and folding the dough through a set duration of time. When you stretch and fold the dough it is strengthening the gluten in the dough and gently adding air. If your dough is more wet (higher hydration) you can space the stretch and olds closer together (every 15-30 minutes apart). If your dough is a lower hydration (drier) you can space them farther apart giving the gluten more time to relax, so about 30 minutes to 1 hour apart.
Your first stretch and fold you will pull the dough up and fold over on itself and then turn the bowl one-quarter. Do these four total times then cover and let rest until the next stretch and fold time. The more stretch and folds you can do the better (I would limit up to four stretch and folds).
Depending on how much time you have, you can do about two stretch and folds and then transfer to a banneton basket for the final rest.
Final Rest/Proof
The last rest is time for the gluten to finish developing. If you don’t have time now to bake after the process is finished, you can put it in the fridge for up to 72 hours until baking. This (similar to your sourdough starter) slows the fermentation process down. The longer you let it sit in the fridge the more it will have the prominent sour taste.
I like to bake mine as soon as I can. I try to plan my baking schedule so that I bake the bread at night and let it cool fully and then it’s ready to cut in the morning.
My blog is reader-supported, and I appreciate you being here. When you buy through links on my site, I may earn a small commission off the products at no cost to you. Thank you for your support.

Pin It for Later!

Easy Artisan Sourdough Bread
Ingredients
Equipment
Method
- Feed your sourdough starter the night before or morning you plan to bake
- Once your sourdough starter has risen (double its size) use kitchen scale to measure ingredients into the bowl. Zero out your scale each time you add ingredients.
- Mix all together and cover. Dough should be shaggy at this point. Cover with bowl cover or plate and let it rest for 45 minutes – 1 hour.
- Add in salt and knead dough in a round motion mixing in the dough thoroughly. Cover and let sit for 1 hour.
- Stretch and fold (depending on the consistency of your dough) every 15-30 minutes or 30 minutes – 1 hour. Cover dough in between folds. Stretch and fold a total of 4 times.
- After final stretch and fold flour a countertop and lay dough out and press flat with hands into a small rectangle. Take the corners and fold them in on themselves. Roll the dough up and place into a floured banneton basket for a final rest.
- After two hours in the basket (or longer in the fridge) pre heat oven to 500 degrees with a dutch oven in the oven.
- When the oven is pre heated turn the loaf out on to some parchment paper score your loaf with the design you want and place in the pre heated dutch oven and cover.
- Bake at 500 degrees for the first 20 minutes. Then reduce the heat of the oven to 450 degrees. Keep the lid on for a softer crumb. Take the lid off for the last 20 minutes to have a harder crust.
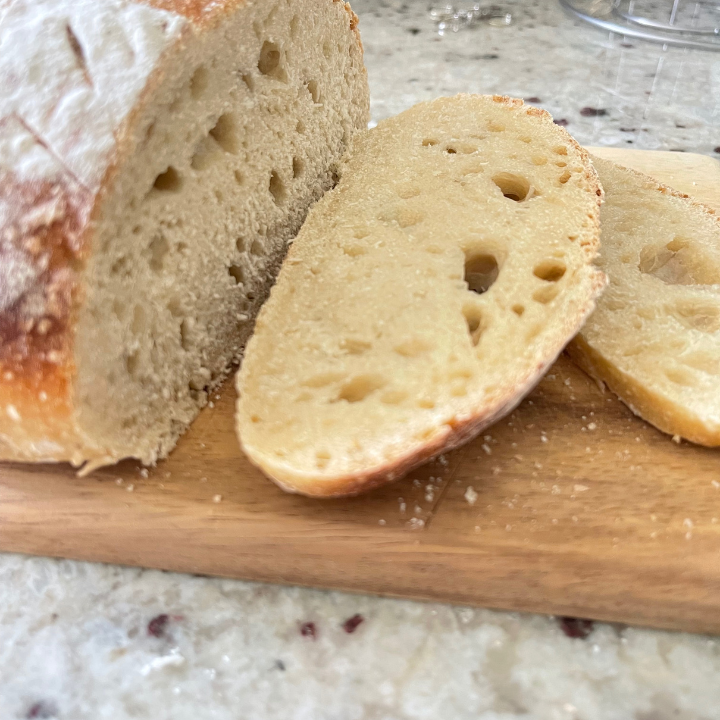
- Remove from the dutch oven and let loaf cool completely.
- Enjoy!